 Why Server Hardening Matters More Than Ever
In 2026, the attack surface of a typical Linux server has never been larger. Between containerized microservices, CI/CD pipelines, and cloud-native tooling, every new service you deploy introduces potential vulnerabilities. The CISA continues to report that misconfigured servers remain one of the top initial access vectors for attackers.
Manual hardening doesn’t scale. When you manage more than a handful of servers, clicking through configuration screens or running ad-hoc shell commands becomes a liability. You need repeatable, auditable, and automated server hardening — and that’s exactly where Ansible shines.
In this guide, we’ll build a complete Ansible playbook that hardens a fresh Ubuntu 24.04 LTS server according to CIS Benchmark principles. No agents to install. No proprietary tooling. Just YAML and SSH.
What Is Ansible and Why Use It for Hardening?
Ansible is an open-source automation engine that configures systems, deploys software, and orchestrates infrastructure tasks. Unlike Puppet or Chef, it’s agentless — it connects over SSH and executes tasks remotely. This makes it ideal for hardening: you don’t need to install anything on the target server before you start.
Key advantages for server hardening:
- Idempotent by design — running the same playbook 10 times produces the same result. No drift, no side effects.
- Declarative YAML syntax — your hardening policy is the code. Readable, reviewable, version-controllable.
- Built-in modules for everything —
ufw,sysctl,lineinfile,systemd,user,apt— all first-class citizens. - Check mode (
--check) — dry-run your hardening to see what would change without touching anything.
Project Structure
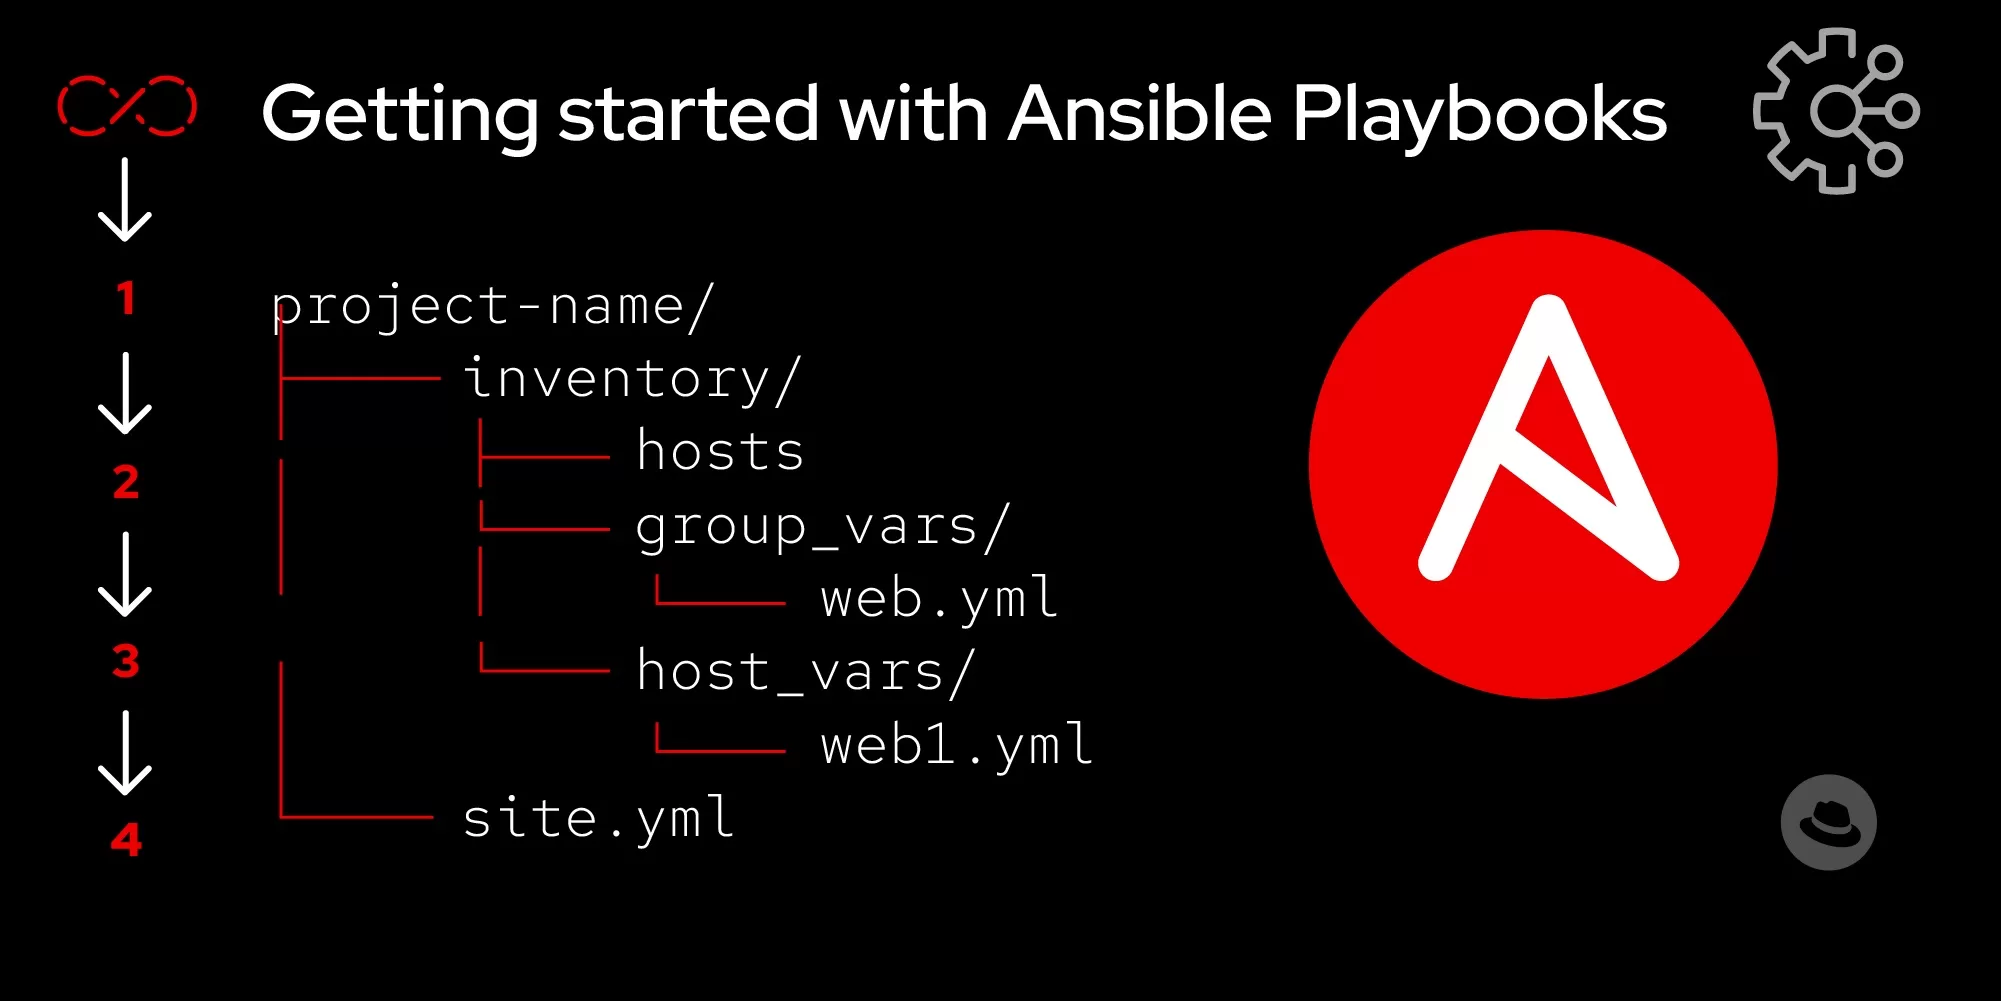
Let’s organize our hardening playbook properly:
server-hardening/
├── ansible.cfg
├── inventory/
│   ├── production.yml
│   └── group_vars/
│       └── all.yml
├── roles/
│   ├── common/
│   │   └── tasks/
│   │       └── main.yml
│   ├── ssh/
│   │   └── tasks/
│   │       └── main.yml
│   ├── firewall/
│   │   └── tasks/
│   │       └── main.yml
│   ├── sysctl/
│   │   └── tasks/
│   │       └── main.yml
│   └── audit/
│       └── tasks/
│           └── main.yml
└── site.yml
Step 1: Base Configuration
Start with ansible.cfg to set sensible defaults:
[defaults]
inventory = inventory/production.yml
remote_user = deploy
private_key_file = ~/.ssh/id_ed25519
host_key_checking = True
retry_files_enabled = False
stdout_callback = yaml
callbacks_enabled = timer, profile_tasks

[privilege_escalation]
become = True
become_method = sudo
become_user = root
Notice host_key_checking = True — never disable this in production. For hardening automation, you want to know if a server’s SSH fingerprint changes unexpectedly.
Step 2: SSH Hardening
SSH is the front door to your server. Here’s a role that locks it down:
# roles/ssh/tasks/main.yml
---
- name: Disable root login via SSH
  ansible.builtin.lineinfile:
    path: /etc/ssh/sshd_config
    regexp: '^#?PermitRootLogin'
    line: 'PermitRootLogin no'
    state: present
    backup: yes
  notify: restart sshd

- name: Disable password authentication
  ansible.builtin.lineinfile:
    path: /etc/ssh/sshd_config
    regexp: '^#?PasswordAuthentication'
    line: 'PasswordAuthentication no'
    state: present
    backup: yes
  notify: restart sshd

- name: Set SSH protocol to 2 only
  ansible.builtin.lineinfile:
    path: /etc/ssh/sshd_config
    regexp: '^#?Protocol'
    line: 'Protocol 2'
    state: present
  notify: restart sshd

- name: Set MaxAuthTries to 3
  ansible.builtin.lineinfile:
    path: /etc/ssh/sshd_config
    regexp: '^#?MaxAuthTries'
    line: 'MaxAuthTries 3'
    state: present
  notify: restart sshd

- name: Set ClientAliveInterval to 300
  ansible.builtin.lineinfile:
    path: /etc/ssh/sshd_config
    regexp: '^#?ClientAliveInterval'
    line: 'ClientAliveInterval 300'
    state: present
  notify: restart sshd

- name: Set ClientAliveCountMax to 2
  ansible.builtin.lineinfile:
    path: /etc/ssh/sshd_config
    regexp: '^#?ClientAliveCountMax'
    line: 'ClientAliveCountMax 2'
    state: present
  notify: restart sshd

- name: Disable X11 forwarding
  ansible.builtin.lineinfile:
    path: /etc/ssh/sshd_config
    regexp: '^#?X11Forwarding'
    line: 'X11Forwarding no'
    state: present
  notify: restart sshd

- name: Restrict allowed users
  ansible.builtin.lineinfile:
    path: /etc/ssh/sshd_config
    line: 'AllowUsers deploy'
    state: present
  notify: restart sshd

- name: Validate sshd config before restarting
  ansible.builtin.command: sshd -t
  changed_when: false
  register: sshd_test

- name: Flush handlers
  ansible.builtin.meta: flush_handlers
And the handler:
# roles/ssh/handlers/main.yml
---
- name: restart sshd
  ansible.builtin.systemd:
    name: sshd
    state: restarted
    enabled: yes
  when: sshd_test is not defined or sshd_test.rc == 0
The sshd -t validation step is critical — it tests the configuration file syntax before restarting. A bad SSH config could lock you out of a remote server.
Step 3: Firewall Configuration with UFW
Uncomplicated Firewall (UFW) provides a clean interface to iptables. Here’s a role that sets up a deny-by-default policy:
# roles/firewall/tasks/main.yml
---
- name: Install UFW
  ansible.builtin.apt:
    name: ufw
    state: present
    update_cache: yes
    cache_valid_time: 3600

- name: Set default incoming policy to deny
  community.general.ufw:
    direction: incoming
    policy: deny

- name: Set default outgoing policy to allow
  community.general.ufw:
    direction: outgoing
    policy: allow

- name: Allow SSH (port 22)
  community.general.ufw:
    rule: allow
    port: '22'
    proto: tcp

- name: Allow HTTPS (port 443)
  community.general.ufw:
    rule: allow
    port: '443'
    proto: tcp

- name: Allow HTTP (port 80) — for redirect to HTTPS
  community.general.ufw:
    rule: allow
    port: '80'
    proto: tcp

- name: Rate limit SSH to prevent brute force
  community.general.ufw:
    rule: limit
    port: '22'
    proto: tcp

- name: Enable UFW
  community.general.ufw:
    state: enabled

- name: Verify UFW status
  ansible.builtin.command: ufw status verbose
  register: ufw_status
  changed_when: false

- name: Display UFW status
  ansible.builtin.debug:
    var: ufw_status.stdout_lines
Step 4: Kernel Hardening with sysctl
The Linux kernel exposes hundreds of tunable parameters via /etc/sysctl.conf. These control network behavior, memory management, and security features:
# roles/sysctl/tasks/main.yml
---
- name: Disable IP forwarding
  ansible.posix.sysctl:
    name: net.ipv4.ip_forward
    value: '0'
    sysctl_file: /etc/sysctl.d/99-hardening.conf
    reload: yes

- name: Enable TCP SYN cookies
  ansible.posix.sysctl:
    name: net.ipv4.tcp_syncookies
    value: '1'
    sysctl_file: /etc/sysctl.d/99-hardening.conf
    reload: yes

- name: Disable source routing
  ansible.posix.sysctl:
    name: net.ipv4.conf.all.accept_source_route
    value: '0'
    sysctl_file: /etc/sysctl.d/99-hardening.conf
    reload: yes

- name: Disable ICMP redirects
  ansible.posix.sysctl:
    name: net.ipv4.conf.all.accept_redirects
    value: '0'
    sysctl_file: /etc/sysctl.d/99-hardening.conf
    reload: yes

- name: Enable reverse path filtering
  ansible.posix.sysctl:
    name: net.ipv4.conf.all.rp_filter
    value: '1'
    sysctl_file: /etc/sysctl.d/99-hardening.conf
    reload: yes

- name: Log suspicious packets
  ansible.posix.sysctl:
    name: net.ipv4.conf.all.log_martians
    value: '1'
    sysctl_file: /etc/sysctl.d/99-hardening.conf
    reload: yes

- name: Disable IPv6 if not needed
  ansible.posix.sysctl:
    name: net.ipv6.conf.all.disable_ipv6
    value: '1'
    sysctl_file: /etc/sysctl.d/99-hardening.conf
    reload: yes

- name: Enable ASLR
  ansible.posix.sysctl:
    name: kernel.randomize_va_space
    value: '2'
    sysctl_file: /etc/sysctl.d/99-hardening.conf
    reload: yes

- name: Restrict dmesg access
  ansible.posix.sysctl:
    name: kernel.dmesg_restrict
    value: '1'
    sysctl_file: /etc/sysctl.d/99-hardening.conf
    reload: yes

- name: Restrict kernel pointer exposure
  ansible.posix.sysctl:
    name: kernel.kptr_restrict
    value: '2'
    sysctl_file: /etc/sysctl.d/99-hardening.conf
    reload: yes
Each parameter targets a specific attack vector. tcp_syncookies mitigates SYN flood attacks. rp_filter prevents IP spoofing. randomize_va_space enables ASLR, making memory corruption exploits significantly harder.
Step 5: Audit and Compliance Reporting
Hardening without verification is just a wish. Add an audit role that checks your work:
# roles/audit/tasks/main.yml
---
- name: Check for users with empty passwords
  ansible.builtin.shell: |
    awk -F: '($2 == "") {print $1}' /etc/shadow
  register: empty_passwords
  changed_when: false
  failed_when: false

- name: Fail if users have empty passwords
  ansible.builtin.fail:
    msg: "Users with empty passwords found: {{ empty_passwords.stdout }}"
  when: empty_passwords.stdout | length > 0

- name: Check for world-writable files in /etc
  ansible.builtin.shell: |
    find /etc -type f -perm -002 2>/dev/null | head -20
  register: world_writable
  changed_when: false

- name: Warn about world-writable files
  ansible.builtin.debug:
    msg: "WARNING: World-writable files in /etc: {{ world_writable.stdout_lines }}"
  when: world_writable.stdout | length > 0

- name: Verify no SUID binaries in /home
  ansible.builtin.shell: |
    find /home -perm -4000 -type f 2>/dev/null
  register: suid_home
  changed_when: false

- name: Check fail2ban status
  ansible.builtin.systemd:
    name: fail2ban
  register: fail2ban_status
  failed_when: false

- name: Report fail2ban status
  ansible.builtin.debug:
    msg: "fail2ban is {{ 'running' if fail2ban_status.status.ActiveState == 'active' else 'NOT running' }}"

- name: Generate hardening report
  ansible.builtin.template:
    src: report.j2
    dest: /tmp/hardening-report.txt
  changed_when: false
Step 6: The Main Playbook
Tie everything together in site.yml:
# site.yml
---
- name: Harden Ubuntu 24.04 LTS Servers
  hosts: all
  become: yes
  gather_facts: yes

  pre_tasks:
    - name: Update apt cache
      ansible.builtin.apt:
        update_cache: yes
        cache_valid_time: 3600

    - name: Install essential packages
      ansible.builtin.apt:
        name:
          - unattended-upgrades
          - fail2ban
          - auditd
          - rsyslog
          - chrony
        state: present

    - name: Enable automatic security updates
      ansible.builtin.copy:
        content: |
          APT::Periodic::Update-Package-Lists "1";
          APT::Periodic::Unattended-Upgrade "1";
          APT::Periodic::AutocleanInterval "7";
        dest: /etc/apt/apt.conf.d/20auto-upgrades
        mode: '0644'

  roles:
    - role: ssh
    - role: firewall
    - role: sysctl
    - role: audit

  post_tasks:
    - name: Ensure critical services are running
      ansible.builtin.systemd:
        name: "{{ item }}"
        state: started
        enabled: yes
      loop:
        - fail2ban
        - auditd
        - chrony
        - rsyslog

    - name: Display completion message
      ansible.builtin.debug:
        msg: "✅ Server hardening complete. Review /tmp/hardening-report.txt for details."
Running the Playbook
Execute against your inventory:
# Dry run first — see what would change
ansible-playbook site.yml --check --diff

# Apply for real
ansible-playbook site.yml

# Run with verbose output for debugging
ansible-playbook site.yml -vvv

# Target specific servers
ansible-playbook site.yml --limit webservers
Integrating with CI/CD
For production environments, run your hardening playbook as part of your deployment pipeline. Here’s a GitHub Actions example:
# .github/workflows/harden.yml
name: Server Hardening
on:
  push:
    branches: [main]
    paths: ['ansible/**']

jobs:
  harden:
    runs-on: ubuntu-latest
    steps:
      - uses: actions/checkout@v4

      - name: Setup Ansible
        run: |
          pip install ansible
          ansible-galaxy collection install ansible.posix community.general

      - name: Run hardening playbook
        env:
          ANSIBLE_HOST_KEY_CHECKING: "True"
        run: |
          ansible-playbook site.yml             --private-key ${{ secrets.DEPLOY_KEY }}             --check --diff
Measuring Effectiveness
After hardening, verify with automated scanning tools:
- Lynis — open-source security auditing tool. Run
lynis audit systemand aim for a hardening score above 80. - CIS DIL Benchmark — Ansible-based CIS Distribution Independent Linux benchmark tests.
- OpenVAS — full vulnerability scanner to verify no known CVEs remain exploitable.
Conclusion
Server hardening isn’t a one-time task — it’s a continuous process. By encoding your hardening policy as Ansible playbooks, you gain:
- Reproducibility — every server gets the same baseline, every time
- Auditability — your Git history is your change log
- Scalability — hardening 1 server or 1,000 servers takes the same effort
- Compliance — map each task to a CIS control for audit reports
Start with the playbook above, adapt it to your environment, and iterate. The best hardening policy is one that’s actually enforced — automatically.